As it turns out, this allows you to keep your personal data in place so you don’t have to worry about creating backups but they are still a good idea just to be on the safer side. Performing a repair install of Windows 11 is fairly simple and using the methods that we are going to list down below, you can actually get it over with in a few simple clicks. Doing a repair install is a good idea if you are facing problems that are not going away with the normal routine solutions or troubleshooting. Down below, we are going to mention different methods that will enable you to perform repair install Windows 11 on your computer. First, you can do so by using the Reset this PC feature that is available in the Settings app of your Windows 11 machine. In addition to that, you can also use a downloaded Windows 11 ISO file to perform an in-place upgrade to repair install Windows 11. With that said, without further ado, let us get started and show you how to repair install your Windows 11 operating system.
Repair Install Windows 11 via Windows Settings
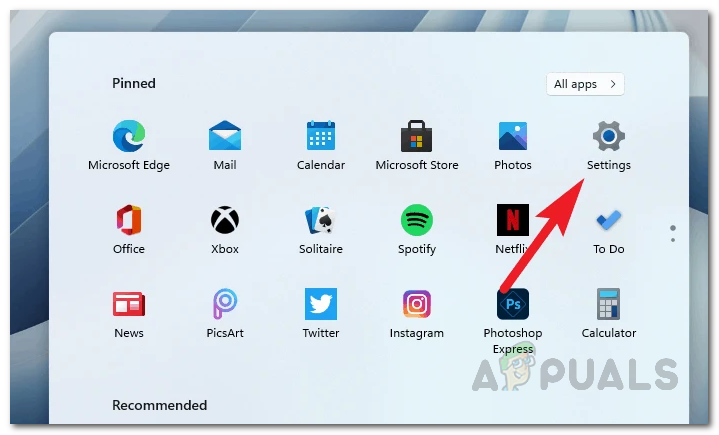
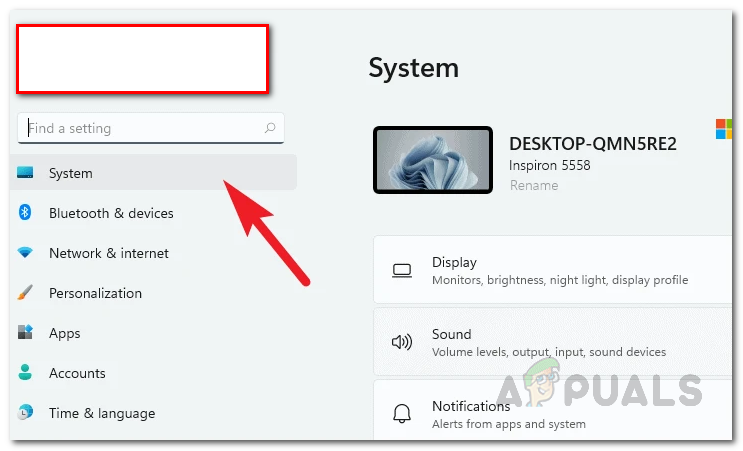
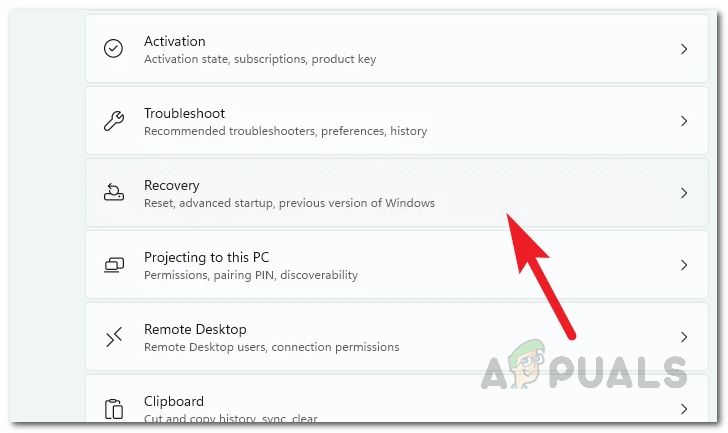
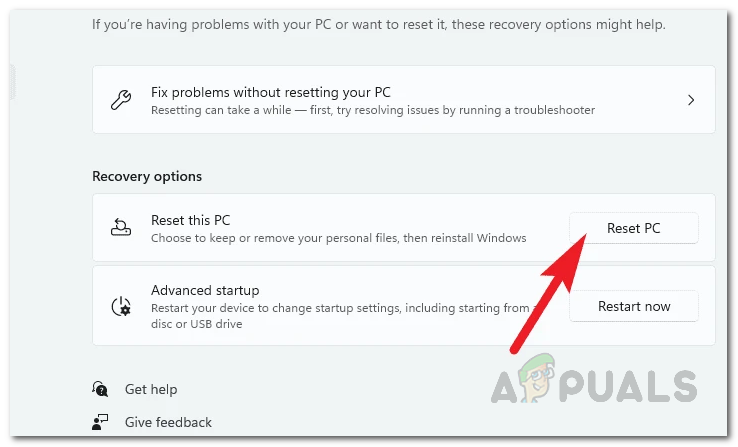
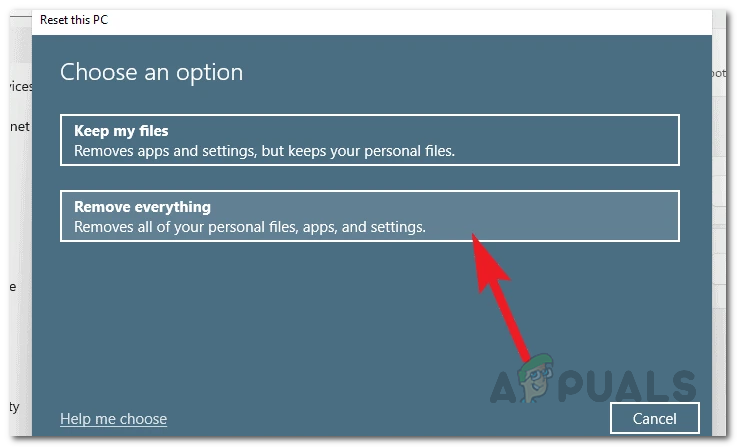
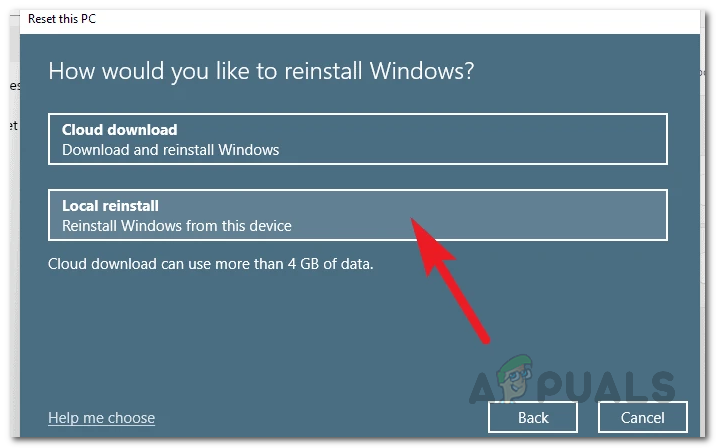
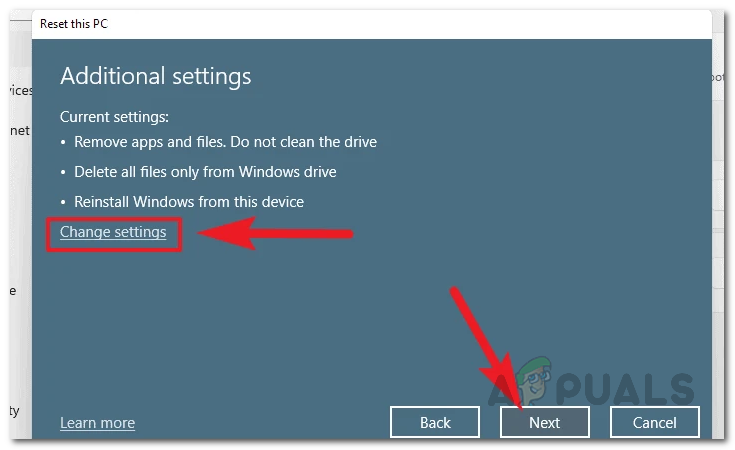
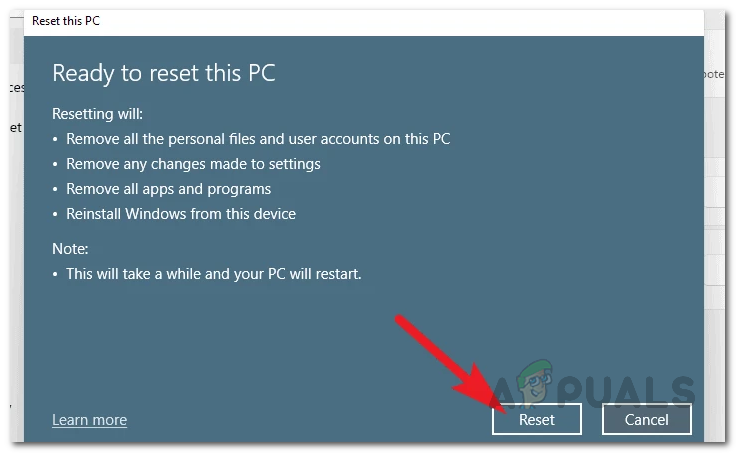
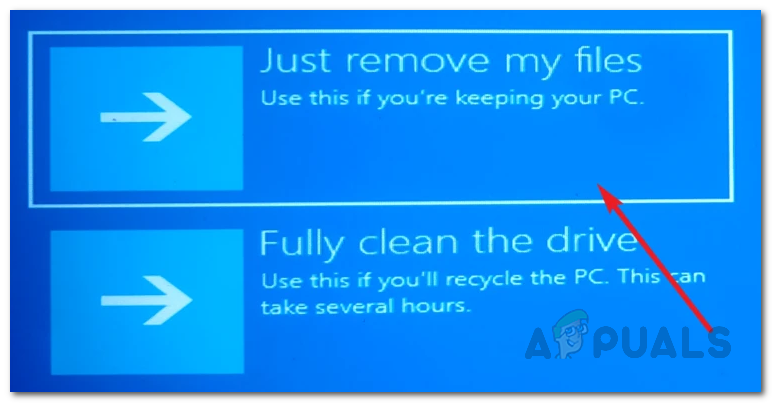
As it turns out, this has to be the easiest and most straightforward way of repairing your Windows 11 installation. Windows Settings has a recovery feature known as Reset this PC that lets you reinstall Windows 11 on your system via the local files that are present on your system. In addition, it also gives you the choice of keeping your personal files and folders so that you do not lose any personal data. However, this will remove third-party apps that you installed on your machine so you will have to reinstall them after the process has finished. With that said, follow the instructions given down below to repair install Windows 11 via Windows Settings:
Repair Windows 11 via Recovery Mode
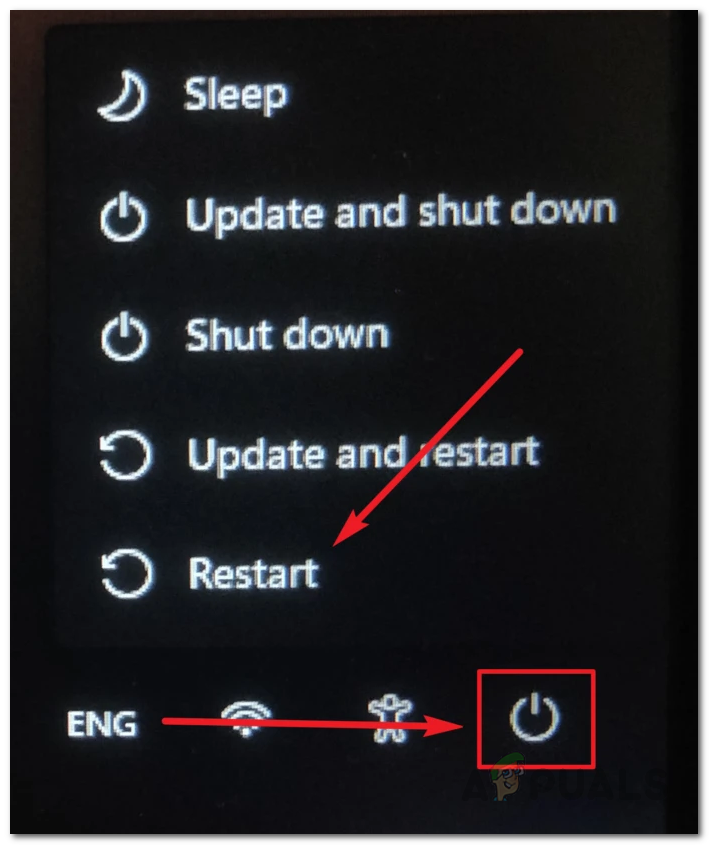
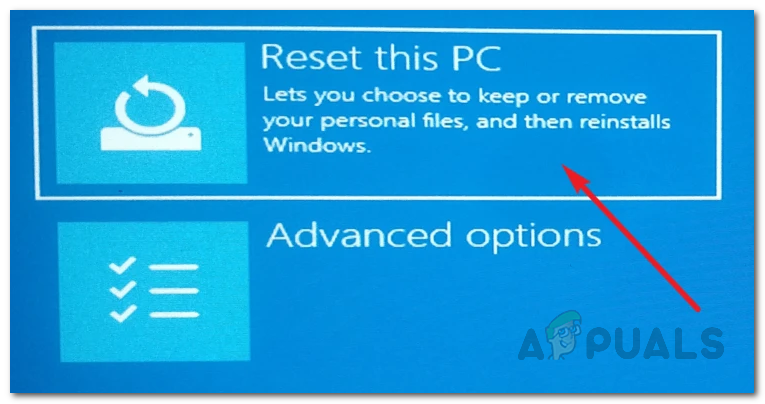
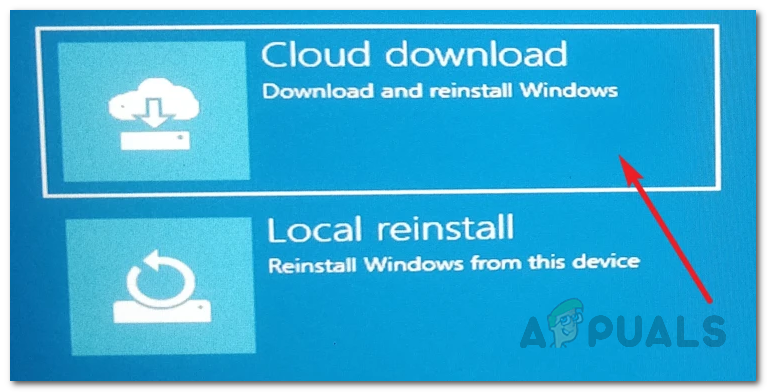
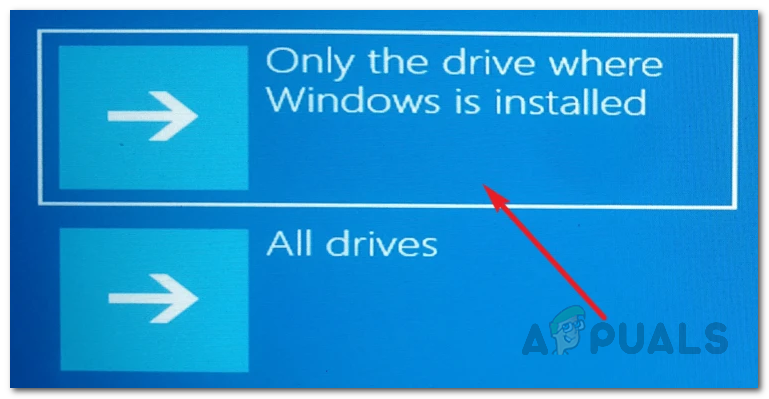
In addition to the recovery option in the Windows Settings, you can also repair your Windows 11 from the recovery mode which does not require you to log in into your account. This can be really helpful if you are not able to sign in to your PC or if it is acting up and you can’t access the Windows Settings app. If this case is applicable, you can rely on this method which uses the Windows Recovery Environment of the Windows operating system. To do this, follow the instructions given down below:
Repair Windows 11 via Windows 11 ISO
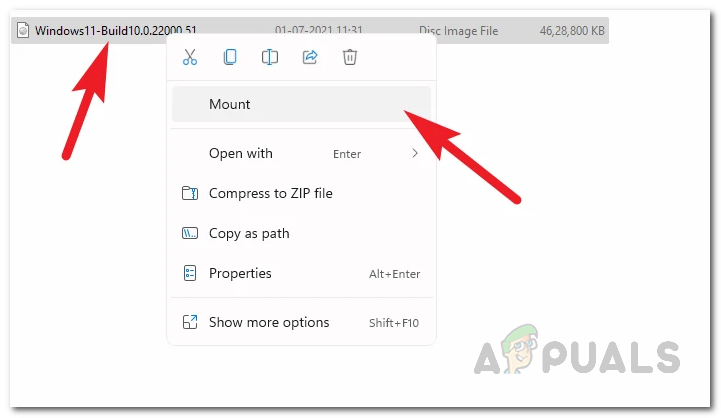
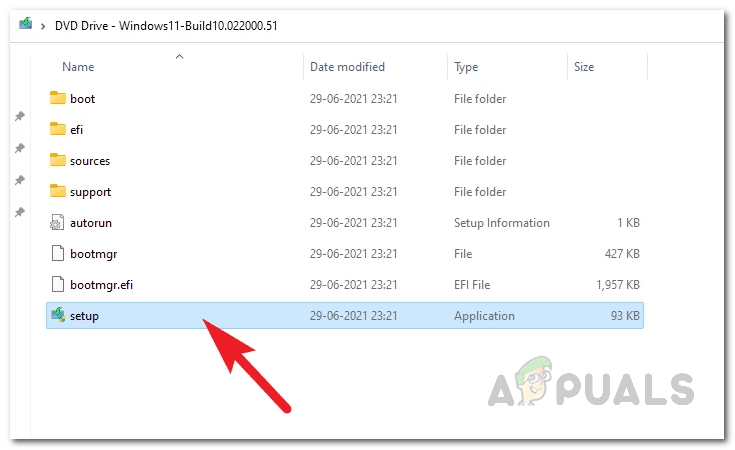
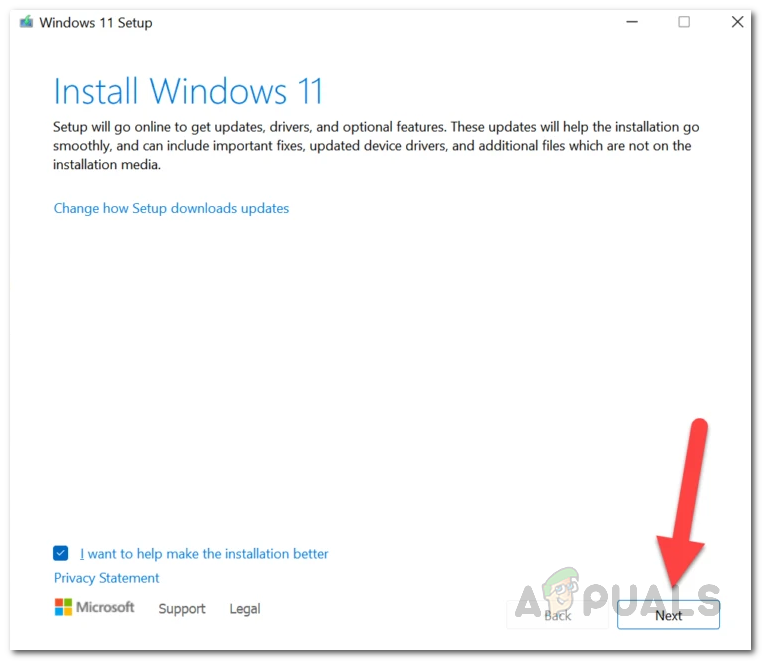
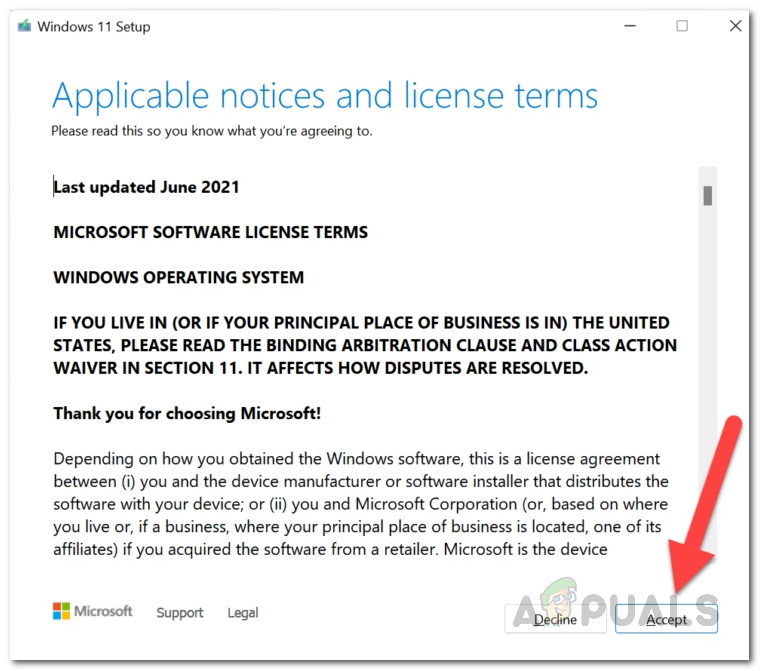
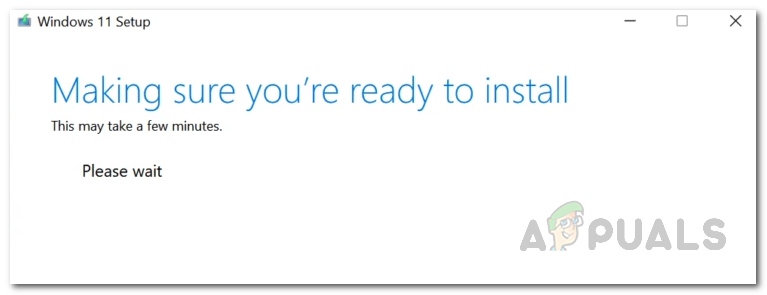
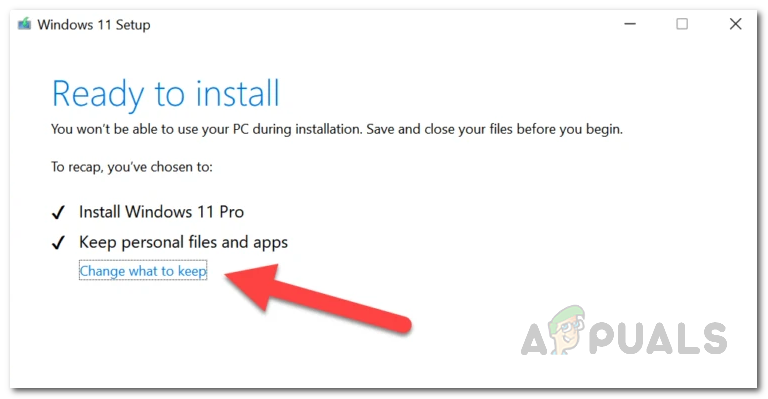
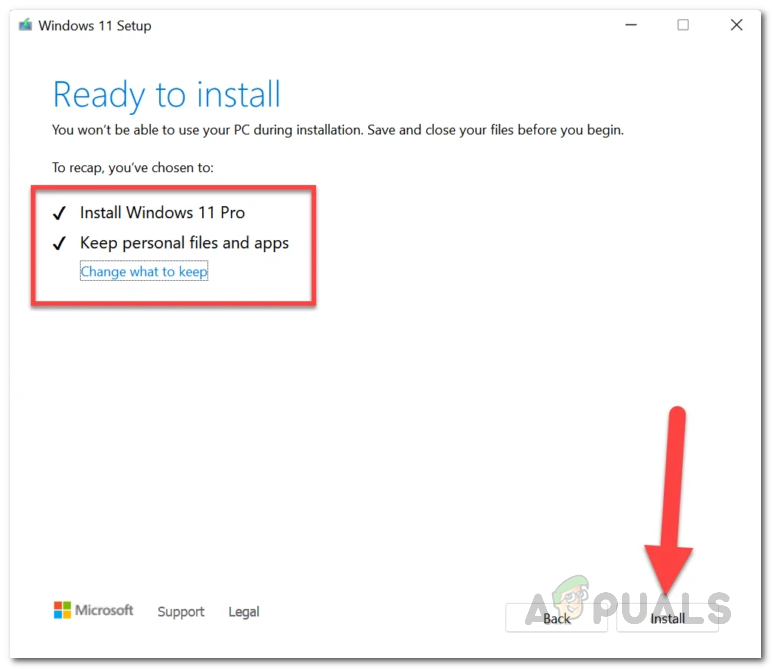
As it turns out, you can also repair your Windows 11 operating system if you have a Windows 11 ISO. This method can also be followed if you have a Windows 11 bootable USB because that’s essentially the ISO burned into the USB. If you repair your Windows 11 by performing an in-place upgrade using the Windows 11 ISO file, you won’t be losing any of your personal data. All of your user accounts as well as the applications will be left as they are while it gets rid of any potential issues that you might be facing with your current installation. To do this, make sure that you have a Windows 11 ISO file downloaded or a bootable USB of the said operating system. It is also recommended that you disable any third-party antivirus that you have installed on your computer just to make sure that it doesn’t interrupt with the repair install of Windows 11. Once you have filled these prerequisites, follow the instructions down below to repair install Windows 11:
How to Fix Automatic Repair couldn’t repair your PC on Windows 10Fix: Startup Repair Cannot Repair this Computer AutomaticallyHow to: Repair Install Windows 10Windows 10 20H1 2004 Blocked By Windows Security App? Here’s A Solution To…

